A leaf blower is one of those tools you might not use every day, but when you need it—it has to work. Regular maintenance helps it stay ready, powerful, and easy to start. Even light use can lead to dirt build-up, wear on moving parts, or blocked airways if left unchecked.
Simple things like cleaning the filter, checking for cracks, and storing it right can make your leaf blower last for years. And the better shape it’s in, the better job it does—clearing leaves faster and with less effort.
Avoid Sudden Breakdowns and Extra Costs
Skipping maintenance may seem harmless at first, but over time it leads to problems. It’s not fun when your leaf blower suddenly won’t start on a windy weekend when the yard is covered in leaves.
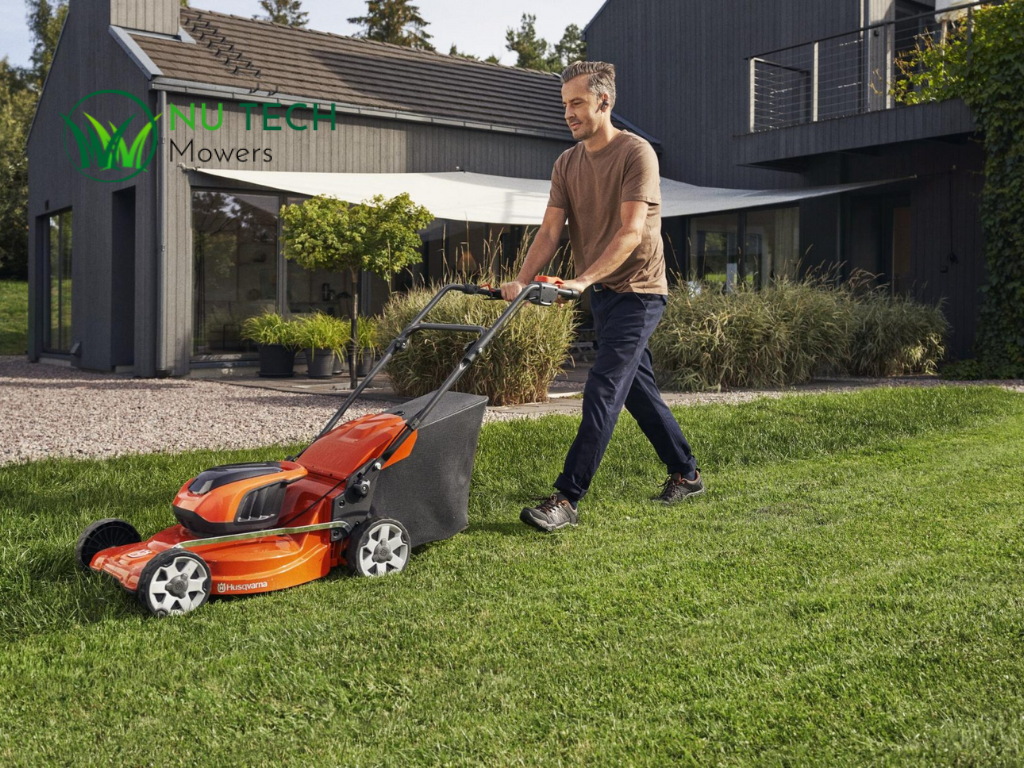
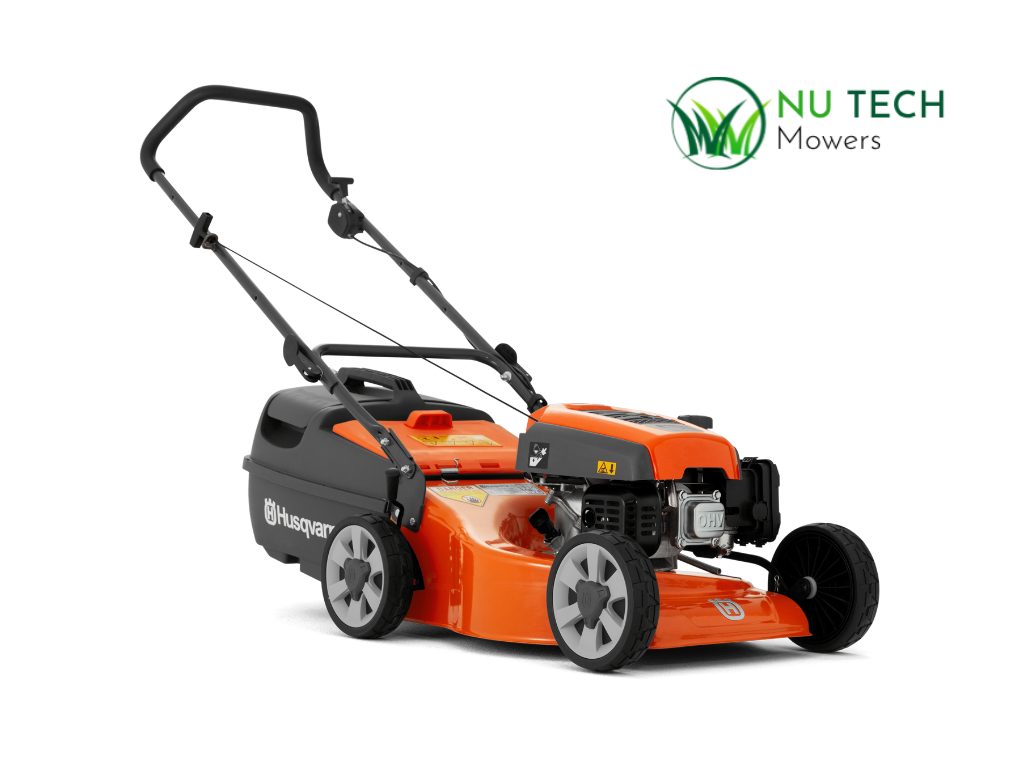
Breakdowns often lead to costly repairs—or needing to replace the tool altogether. That’s why upkeep is worth it. Think of it like your other garden gear. You wouldn’t ignore your husqvarna mower or let your trimmer rust, right? Treating your leaf blower with the same care saves money and stress.
Clean the Filters and Air Vents Regularly

Why Dust and Leaves Can Clog Up Your Leaf Blower
Leaves aren’t the only thing a leaf blower deals with. Dust, mulch bits, and fine debris get pulled into the intake vents. Over time, this builds up inside the air filter and blocks the vents, forcing the motor or engine to work harder than it should.
That extra strain makes your blower louder, weaker, and less efficient. And if ignored for too long, it can cause overheating or damage to internal parts.
Simple Cleaning Steps to Keep It Breathing Easy
The good news is that keeping things clean is simple. First, turn off and cool down your leaf blower. Remove the air filter cover, then check the filter. If it’s reusable, shake it out or gently brush away dust. If it looks torn or clogged, replace it—filters are affordable and easy to swap.
Don’t forget the air vents. Use a cloth or soft brush to wipe around the intake and exhaust areas. For extra buildup, a can of compressed air works wonders. A few minutes of cleaning every few uses can keep your leaf blower running stronger and longer.
Check the Nozzle, Tubes, and Trigger Controls
Make Sure Everything’s Tight, Clear, and Working
Over time, the physical parts of your leaf blower can loosen or wear down. The nozzle and tubes are especially important—they guide airflow. Cracks, splits, or loose connections will reduce power and make the tool harder to control.
Check that all sections are fitted tightly. Run your hand along the tubes and nozzle to feel for damage. Shake out any trapped leaves or debris. You want air to flow fast and freely, with no interruptions.
How to Spot Early Signs of Wear or Damage
Give your leaf blower a quick look-over before and after use. Is the trigger responsive? Does it feel stiff or spongy? Does the blower suddenly lose power or sound louder than usual? These are small warning signs that something’s off.
A trigger that sticks might need cleaning or light lubrication. If the nozzle feels wobbly, tighten the connection or replace the seal. The same habits you use to care for your husqvarna mower, lawn mower, or headge trimmer should apply here too—because regular checks mean fewer surprises.
Maintain It Like You Would Your Husqvarna Mower or Trimmer

Same Smart Habits Apply to Every Garden Tool
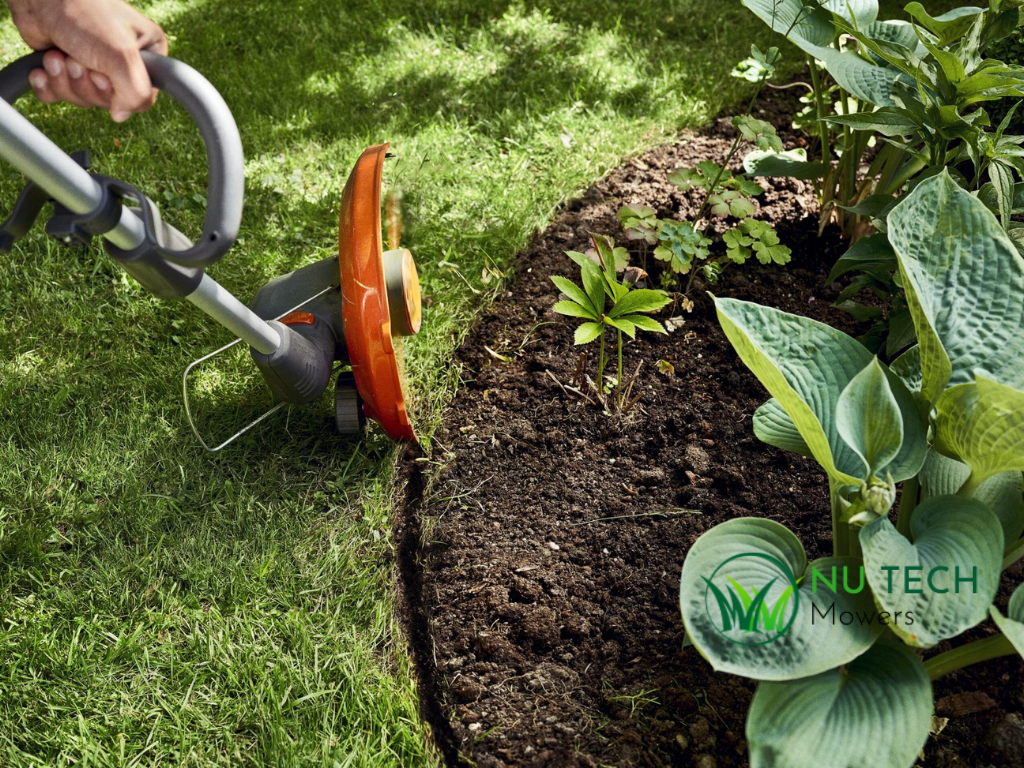
Whether it’s a leaf blower, a husqvarna mower, a headge trimmer, or a trimmer, the basics of care are the same. Clean it regularly. Check the moving parts. Store it somewhere dry. These small habits go a long way with every tool you own.
If you’re already taking the time to keep your lawn mower in shape, your blower should get the same attention. Skipping maintenance on one tool usually leads to skipping it on others—so keeping up with all of them makes the job easier in the long run.
Sharpen, Oil, and Store All Equipment Properly
You may not need to sharpen a leaf blower, but it still needs attention. Keep vents clear, fasteners tight, and fuel systems clean if you use a petrol model. For battery blowers, check the battery health and clean the contacts.
At the same time, remember to check your trimmer line, clean your headge trimmer blades, and empty the grass catcher on your husqvarna mower. Treating your tools well gives you smoother starts, better performance, and fewer breakdowns across the board.
Storage Tips to Protect Your Leaf Blower in the Off-Season
Drain the Fuel or Charge the Battery—Don’t Just Toss It in the Shed
When the season ends, your leaf blower still needs a little love before being put away. For petrol models, always drain the fuel or add a stabiliser if you’re storing it for more than a month. Old fuel can clog the carburettor or leave sticky residue.
For battery models, fully charge the battery before storage. Don’t leave it drained or exposed to heat or cold. Also, unplug the charger to avoid trickle drain. These small habits help your blower last much longer.
Wrap, Cover, and Store It the Right Way
Once it’s clean and dry, store your leaf blower in a covered space like a garage or garden shed. If possible, keep it off the floor and away from damp areas. Hanging it on a hook is great—it protects the housing and helps prevent accidental knocks or drops.
You can also cover it with a cloth or dust sheet to keep it free from cobwebs and debris. And while you’re at it, give the same attention to your other tools—your lawn mower, trimmer, and headge trimmer deserve the same care before their winter nap.
Lawn Mower and Leaf Blower Maintenance Can Go Hand in Hand

Bundle Your Garden Gear Tasks for One Clean Sweep
A smart trick? Schedule one day each season for garden tool maintenance. On that day, clean and check your leaf blower, lawn mower, husqvarna mower, trimmer, and headge trimmer all in one go. It saves time, and you’re less likely to forget anything.
This routine also helps you spot which tools need repairs or replacements early—before the busy yard work season kicks off again.
Build a Simple Weekend Checklist That Covers It All
You don’t need to be a pro. Just make a checklist: clean filters, check power cords or fuel lines, tighten bolts, inspect triggers, and wipe everything down. These small steps take less than an hour and will add years to your gear.
By maintaining your leaf blower alongside your other tools, your whole garden toolkit stays in top shape. It’s a small job with big rewards—fewer delays, better results, and less money spent in the long run.

